 Stone IdentifierGet the app
Quartz vs calcite: how to tell them apart
Compare quartz and calcite using hardness, natural surfaces and photographs. Learn which clues help, which can mislead, and when to ask an expert.
Quartz and calcite can both look clear, white or glassy. Their most useful reference difference is hardness: quartz is 7 on the Mohs scale, while calcite is 3. A photograph cannot measure that property, so start with observations rather than a confident name.
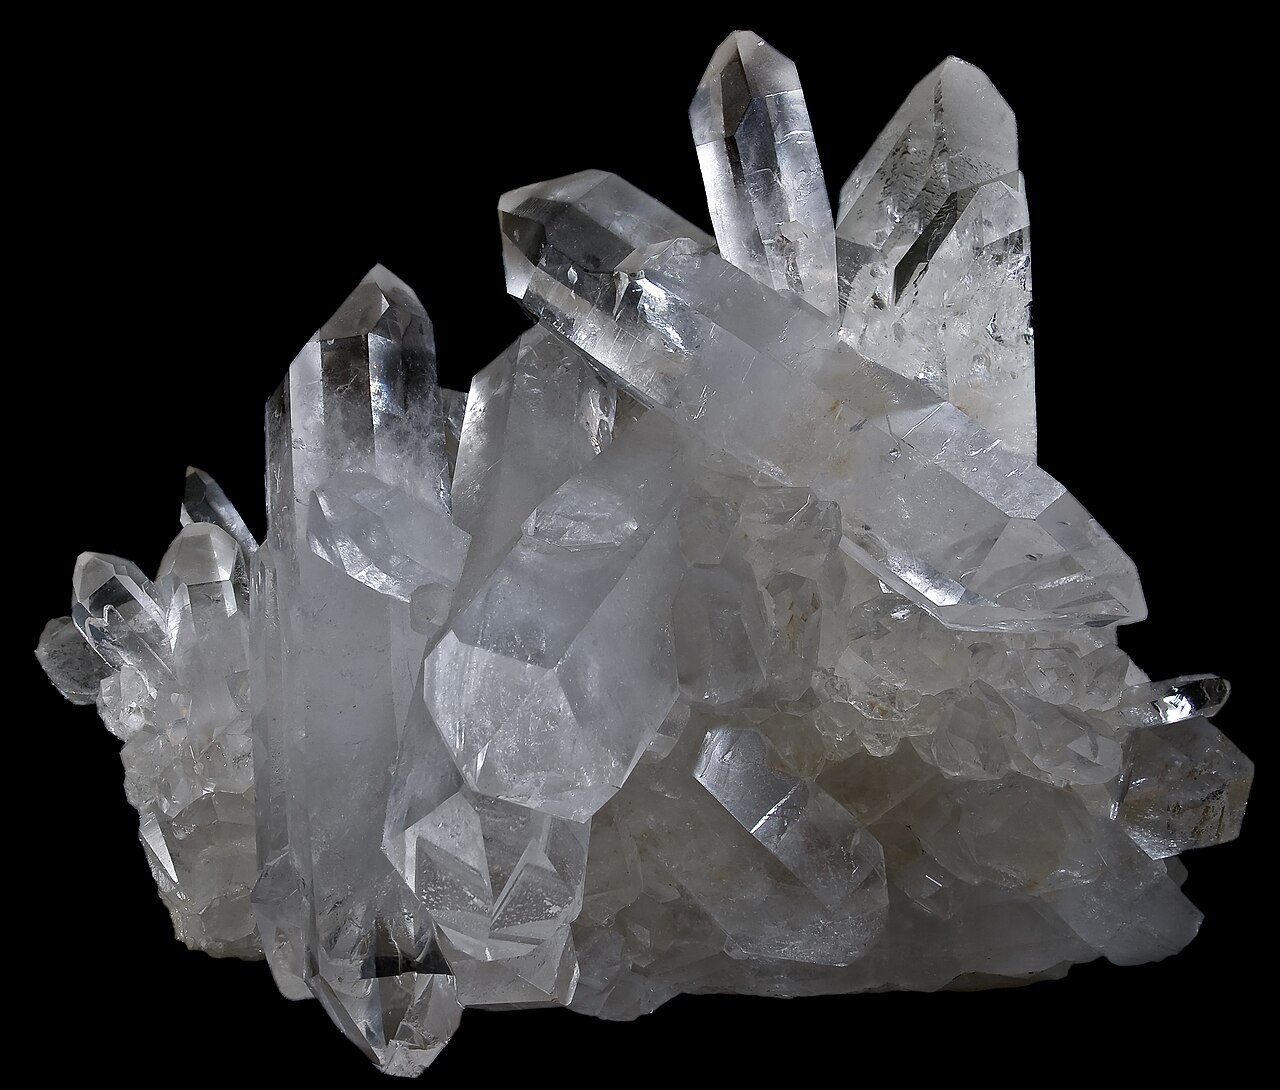
In this guide
Quartz vs calcite at a glance
| Property | Quartz | Calcite |
|---|---|---|
| Composition | Silicon dioxide | Calcium carbonate |
| Mohs hardness | 7 | 3 |
| Appearance | May be clear, white or colored | May be clear, white or colored |
| Surface clues | Can show curved, shell-like fracture surfaces | May show a pearly luster on cleavage surfaces |
The mineral references below describe typical properties. They do not tell you which mineral is in your hand. A worn pebble, polished ornament or mounted stone may hide the surfaces that would help an examiner.
Start with the surfaces already visible
Set your specimen on a plain background and turn it slowly in daylight. Photograph the whole object, then any exposed natural face or existing broken edge. Write down whether each surface is smooth, curved, flat, rough or polished. Do not create a fresh break to get a better view.
A flat face by itself does not settle the question. It might be a natural crystal face, a break or a surface created during cutting. Likewise, a shiny finish on a tumbled stone may tell you more about polishing than about the mineral.
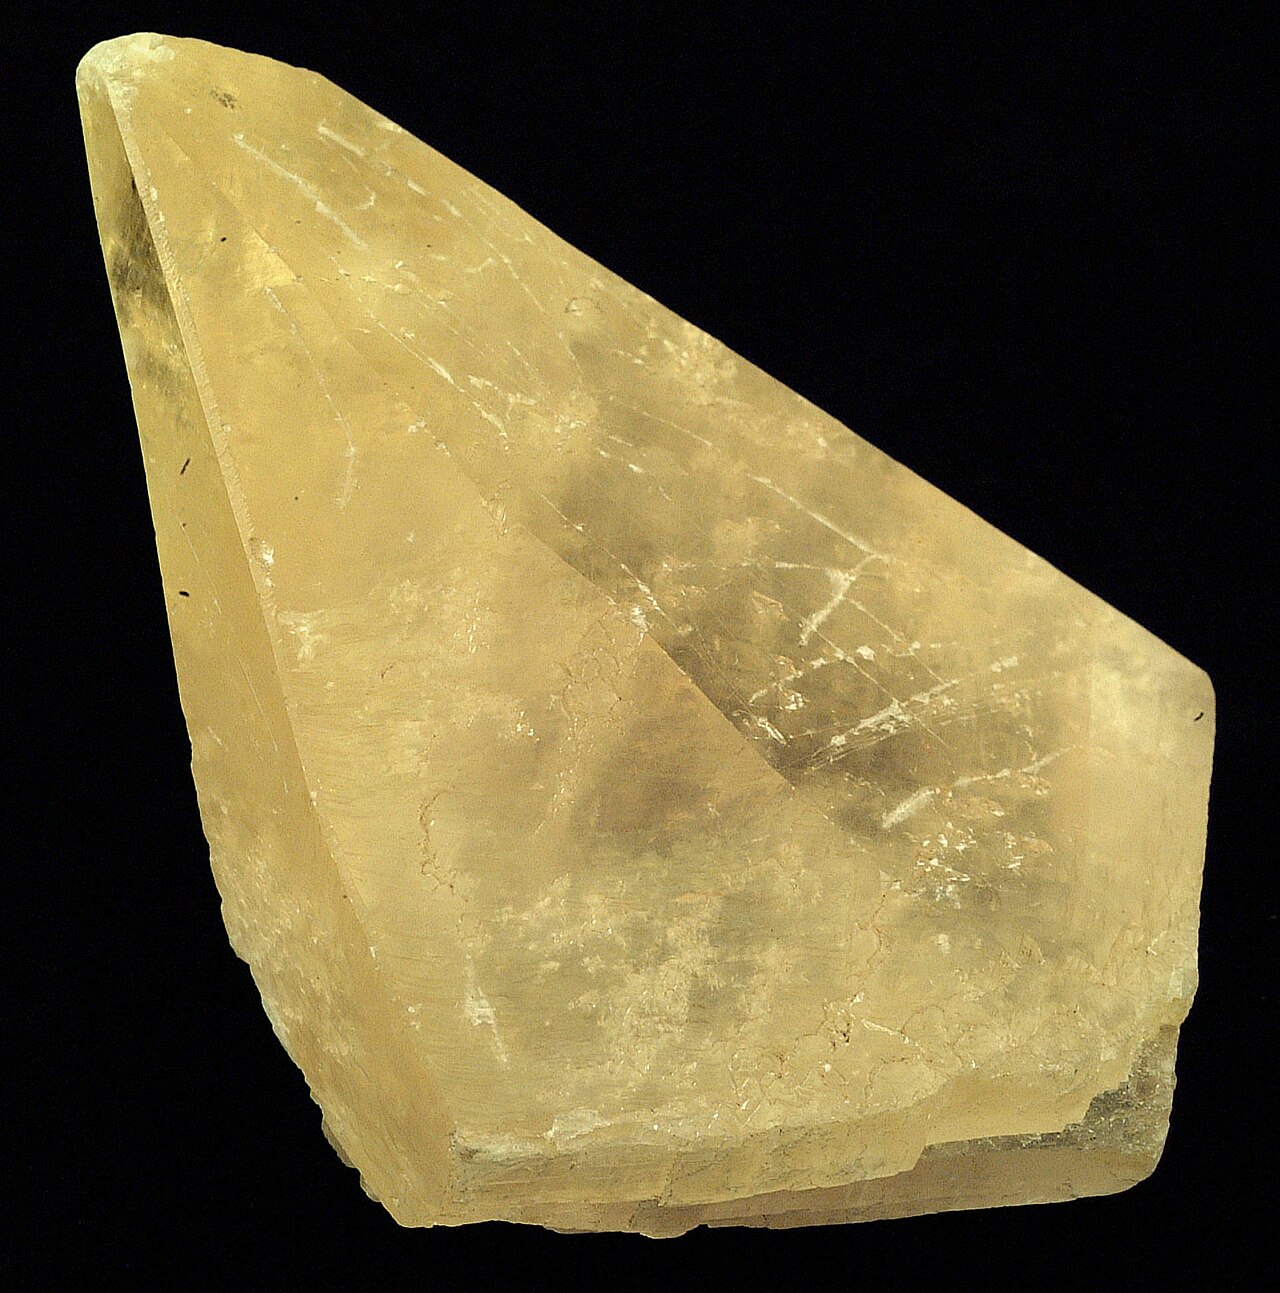
.jpg)
These are reference specimens, not a before-and-after test. Compare your object's visible structure with both photographs instead of choosing whichever has the closest color.
Why a scratch test is not the first step
The hardness gap is useful to someone carrying out a controlled identification. It is not a reason to scratch jewelry, a collectible crystal or an object whose value you do not know. A photo also cannot show whether an old line is a scratch, a crack or a mark left on the surface.
For a valuable or mounted piece, keep your observations and ask a qualified gemologist or mineral specialist. Say what you know about its history, and let the examiner choose an appropriate method.
Take photographs that support a useful comparison
Use an evenly lit view without a strong color filter. Include another angle and a separate image with a ruler for scale. Keep the original photographs so you can compare suggestions against the actual object later.
You can use Rock Scan to explore possible matches from a photo. Treat a suggestion as a candidate to investigate, then check the supporting observations and alternatives. If the only evidence is that the stone is white or clear, leave the identification open.
Keep a record before deciding
Write “possible quartz” or “possible calcite” alongside the observations that led you there. Separate facts you can see from properties you have not measured. Our printable observation sheet gives you a place to record both.
If your specimen shows distinct bands, explore our agate identification guide as another starting point. A useful identification process can end with a better question rather than an immediate answer.
Sources
Take a closer look at your find
Use Rock Scan to explore possible matches from a photo. Compare the suggestion with the clues in this guide.
Open in App Store