Slate vs shale: look at how the rock splits
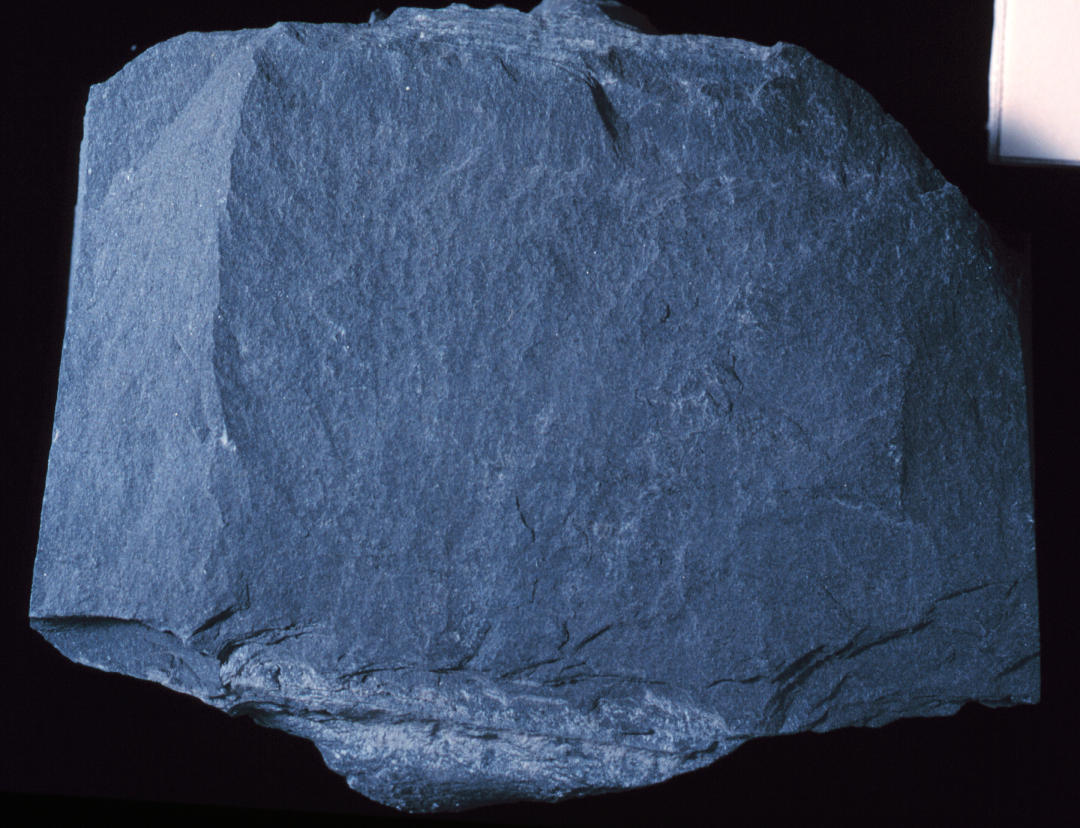
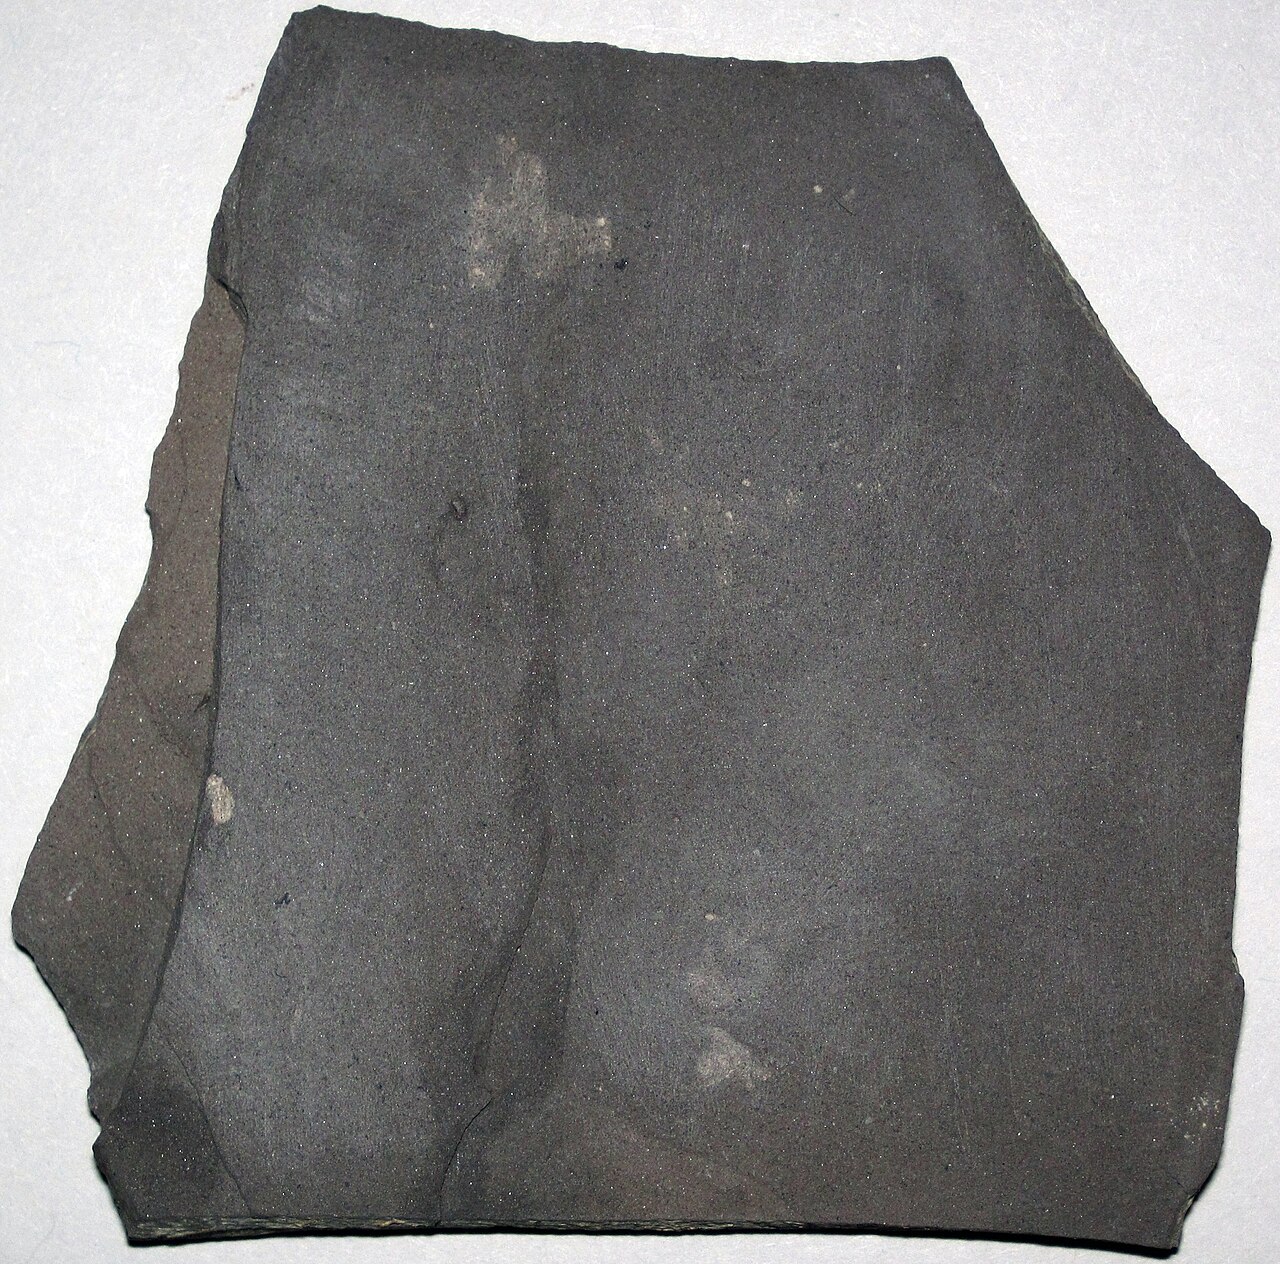
Shale often splits along its original sedimentary layers. Slate splits along planes created during metamorphism. Where both structures are visible, slate cleavage can cut across the older layers.
In this guide
Start with the edge
Lay the specimen flat and find an edge that crosses the broad surface. Photograph it from the side. A face-on photo may show a uniform gray surface while the edge reveals several different sets of lines.

 ROCK SCAN
Identify your rocks
Take a photo to explore a possible match.
iPhone and Android · In-app purchases
Look for bedding
Shale is made from fine sediment. Some specimens preserve alternating fine layers and split along those layers. Look for changes in color or grain along the edge, then see whether the flat break follows those changes.
Look for slate cleavage
Pressure during metamorphism can create a new set of planes along which slate splits. If a flat break crosses an older colored band, record the angle between them. Some samples show only one set of lines, so this comparison may be inconclusive.
ROCK SCANIdentify your rocks
Take a photo to explore a possible match.
iPhone and Android · In-app purchases
Keep the location with your photo
A thin flake can fit either rock. Note whether it came from an outcrop, landscaping gravel or a roofing tile. Compare the slate guide and shale guide, then record your evidence on the observation sheet.
What the edge can tell you
| What you see | How to record it |
|---|---|
| Several thin flakes follow the same sediment layers | Photograph an edge where the layers are visible. This is consistent with shale. |
| Several parallel flat breaks cross a traceable sediment layer | Take a side photo showing both directions. This is consistent with slaty cleavage. |
| One flat face, a single stripe, or a cut edge | Record the surface and keep the identification open. |
Imagine two dark flakes of similar size. On the first, every thin split follows the same fine layers that you can trace along the edge. On the second, a thin pale sediment layer runs across several parallel splitting surfaces. The first pattern favors shale. The second favors slate, provided the pale line is an original layer. A vein, stain or saw mark can create a line too. Check whether it continues through a second face before you label it. Slate can also split along planes nearly parallel to old layers, so a parallel pattern alone leaves room for either rock.
The U.S. Geological Survey describes the two splitting patterns in its San Francisco Bay geology bulletin. The British Geological Survey defines slate by its well-developed splitting planes.
Take two photos before naming the rock
Photograph the whole piece beside a ruler, then take a close-up with the edge and broad face both visible. On a copy of the photo, mark the layer and the direction of the split. Use Stone Identifier for a possible match and compare it with the lines you marked. Keep the specimen intact, especially if it came from a building or collection.
Sources
ROCK SCANIdentify your rocks
Take a photo to explore a possible match.
iPhone and Android · In-app purchases