How to photograph a rock for a stone identifier app
Start with one dry stone on plain paper beside a window. Frame the whole stone, tap its surface to focus, then zoom in on the saved photo. If you can see the edges of individual grains or crystals, you have a useful first image to scan.
In this guide
Choose the view that tells you the most
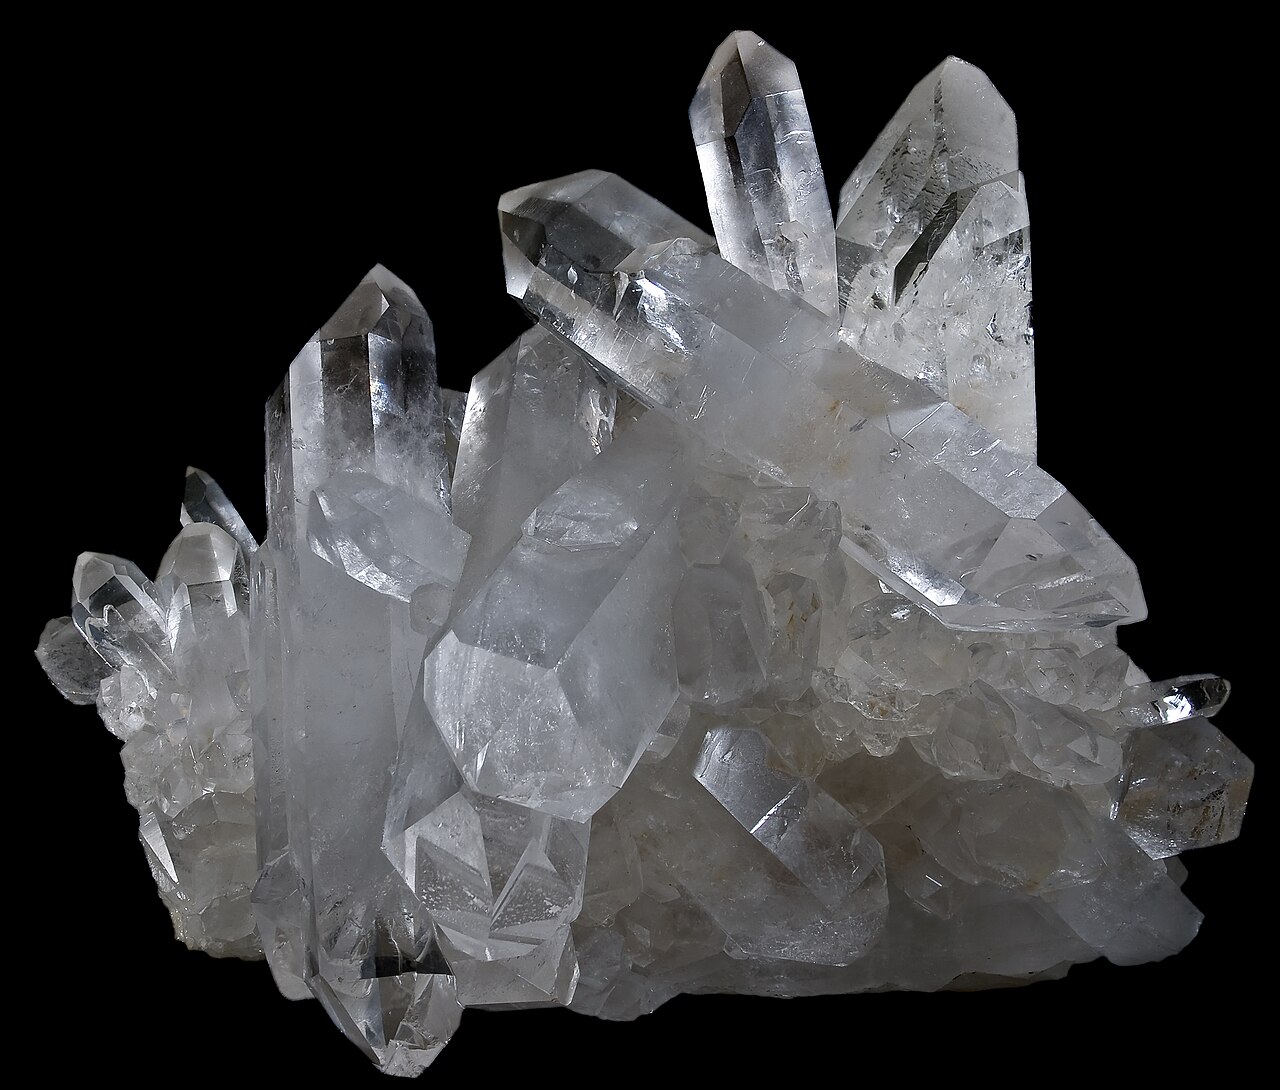
Turn the stone slowly in daylight. On a quartz cluster, an overhead shot can make the tips look like white dots. A side view can show where the flat faces meet at a point. On a layered pebble, turn the banded edge toward the camera. Choose the angle that shows the feature you noticed when you picked it up.
 ROCK SCAN
Identify your rocks
Take a photo to explore a possible match.
iPhone and Android · In-app purchases
Fix the photo before using a scan
If a polished stone reflects the window as a bright white patch, move it sideways or rotate it until you can see the surface underneath. If the paper looks sharp but the stone looks fuzzy, move the phone back a little and tap the stone on screen. Take two pictures and enlarge both. Use the one with the clearest edges, even if the stone looks smaller in the frame.
Keep a second picture for scale
A close-up of sparkling grains can look like a cluster of large crystals. Take a separate photo with a ruler alongside the stone, on the same surface. Keep the whole-stone shot for the app and the measured shot for your notes. The printable observation sheet has room to record the size and where you found it.
Try the clearest picture
Open the stone identifier app and choose the saved photo from your library. If the suggestion is quartz, check the pictured faces against the quartz crystal guide. If another angle gives you a different name, compare the two scan results before labeling the specimen.
Sources
ROCK SCANIdentify your rocks
Take a photo to explore a possible match.
iPhone and Android · In-app purchases